# Figure Figcaption

# 概述
;figure (opens new window) 用于定义一个可附加标题的内容元素,figcaption (opens new window) 用于为figure元素添加标题和描述信息。
页面中的插图卡片比较常见,卡片中包含有图片的描述信息、标题或者按钮等。

一般的实现方式可能会用div元素设置background: url()的方式将图片作为背景,其余的描述信息和标题作为div的子元素。
或者是div元素内部添加img元素,其余的描述信息和标题则定位至图片上方。
虽然两者都能实现上面的卡片样式,但是HTML的结构和语义化不是非常明显。
以下HTML结构则非常清晰,figure表明一个插图卡片整体,img为插图,figcaption内部为图片的描述信息和标题。
<figure>
  <img src="image.png" alt="">
  <figcaption>caption and descriptions</figcaption>
</figure>
因此figure元素的用处也非常明显了,但是figure元素的内容不仅限于图片,也可以包括表格、代码段、诗词等。
# 特性
figure / figcaption为块级双标签,于HTML5中新增,浏览器支持程度比较高,IE8及以下不支持figure含有默认外边距,浏览器不同值大小不同。figure默认的宽度是100%,高度依赖于其内容高度figure可以有多个子元素,但是figcaption最好最多只有一个figure元素的其他内容应与主内容相关,同时其他内容的位置相对于主内容又是独立的。例如插图卡片中,描述信息和标题与图片相关,而描述信息和标题的位置和图片又是相互独立的,删除figcaption元素也不会影响整体
# 实例
# 图片
<figure>
  <img src="image.png" alt="">
  <figcaption>caption and descriptions</figcaption>
</figure>

# 代码段
<figure>
  <figcaption>code</figcaption>
  <pre>
    function log(val) {
      console.log(val)
    }

    log('hello world')
  </pre>
</figure>

# 引用文本
<figure>
  <figcaption>Shakespeare: </figcaption>
  <blockquote>Nutrition books in the world. There is no book in life, there is no sunlight; wisdom without
    books, as if the birds do not have wings.</blockquote>
</figure>

# 诗词
<figure>
  <figcaption>滕王阁序</figcaption>
  <p>落霞与孤鹜齐飞,秋水共长天一色。</p>
</figure>

# 应用
;tympanus (opens new window) 中的插图卡片有很多的hover特效,都是利用figure和figcaption来实现的,接下来手动实现一种简单的。

首先构造HTML基础结构,字体和宽度稍作限制。
figure {
  margin: auto;
  min-width: 320px;
  max-width: 480px;
  max-height: 360px;
  font-family: 'Raleway', Arial, sans-serif;
  cursor: pointer;
}

<figure>
  <img src="iamge.png" alt="">
  <figcaption></figcaption>
</figure>
;figcaption内是图片的描述信息和标题,将figcaption定位至figure上。
figure {
  ...
  position: relative;
}

figcaption {
  position: absolute;
  left: 0;
  top: 0;
  width: 100%;
  height: 100%;
  padding: 2em;
  box-sizing: border-box;
}
完善figcaption内部结构。
<figcaption>
  <h2>Messy<span>Duke</span></h2>
  <p>Duke is very bored. When he looks at the sky, he feels to run.</p>
</figcaption>
插图卡片暂时如下。

文字颜色修改并居中,h2内字体稍作调,比例缩小0.8,并显示为大写。
figcaption {
  ...
  color: #fff;
  text-align: center;
}

figure h2 {
  margin: 0;
  font-size: 30px;
  font-weight: 300;
  text-transform: uppercase;
  transform: scale(0.8);
}

figure h2 span {
  font-weight: 600;
}
调整p标签位置,比例缩小0.8。
figure p {
  position: absolute;
  left: 0;
  bottom: 30px;
  margin: 20px;
  padding: 30px;
  border: 2px solid #fff;
  font-size: 18px;
  transform: scale(0.8);
}
插图卡片初步完成。

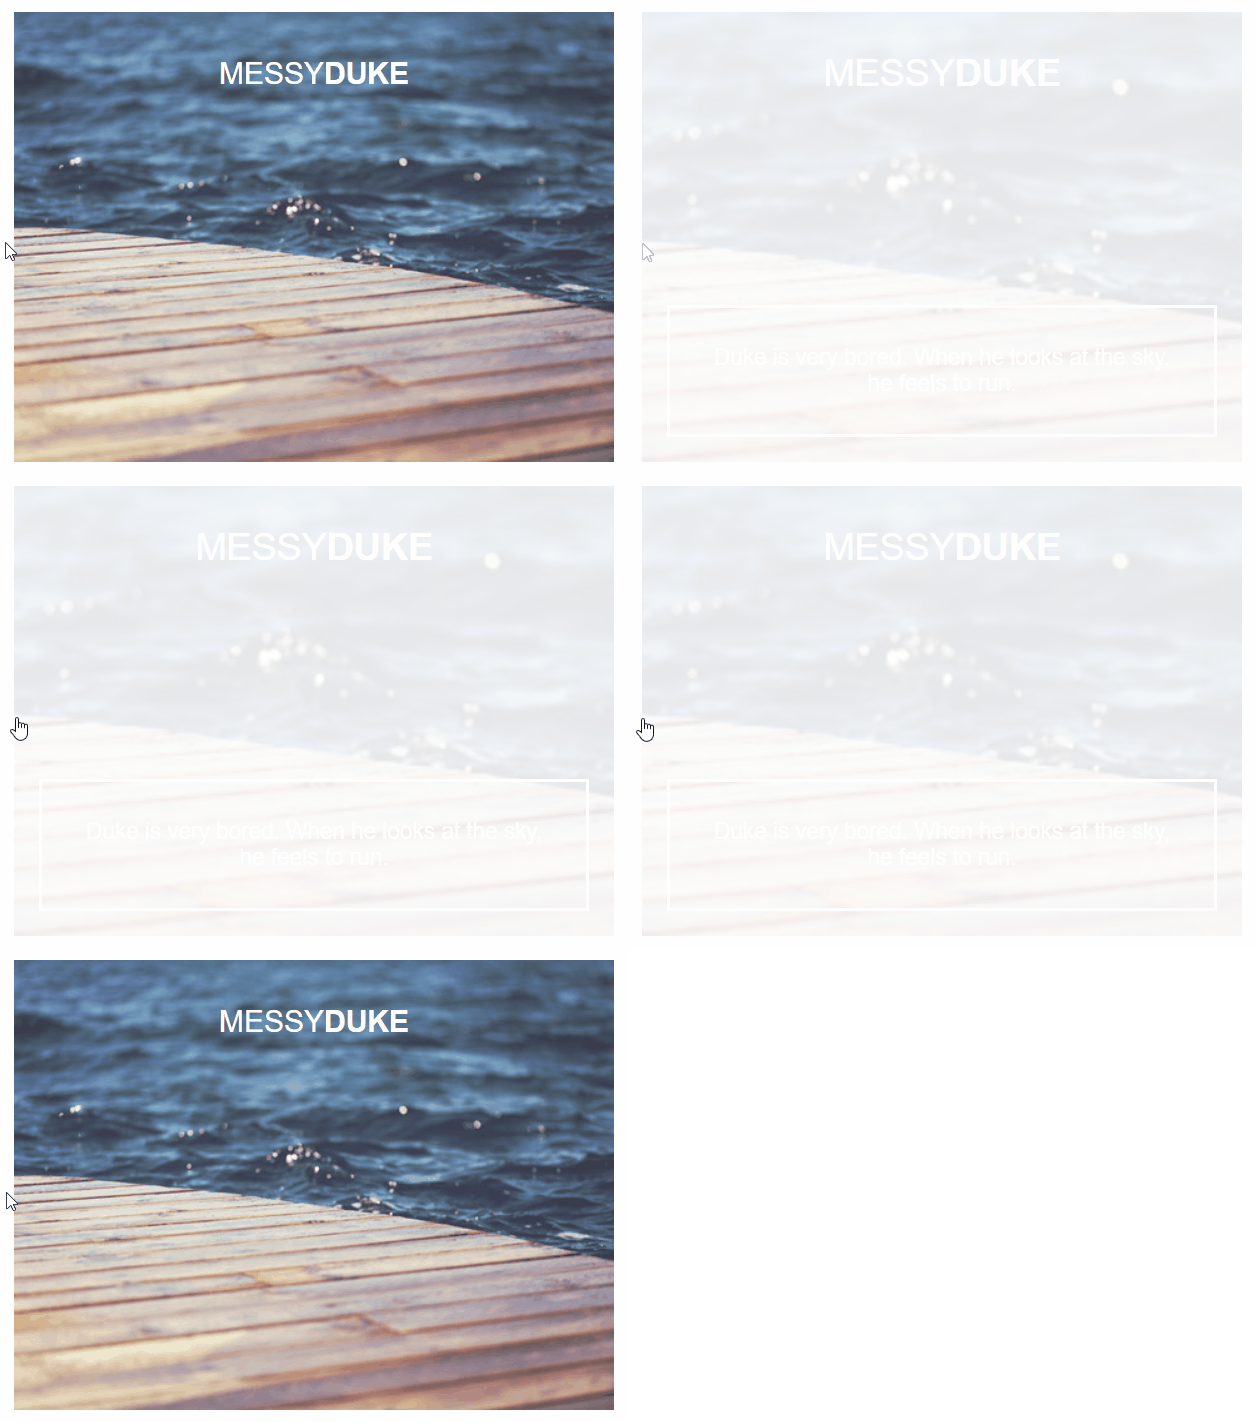
再考虑鼠标悬浮样式,鼠标悬浮后图片放大2倍,透明度由0.8到0.1,字体均恢复原本大小,p标签由透明度0到1。
figure {
  ...
  overflow: hidden;
}

figure p {
  ...
  opacity: 0;
}

figure img {
  opacity: 0.8;
}

figure:hover img {
  opacity: 0.1;
  transform: scale(2);
}

figure:hover h2 {
  transform: scale(1);
}

figure:hover p {
  transform: scale(1);
  bottom: 0;
  opacity: 1;
}
查看下悬浮效果。

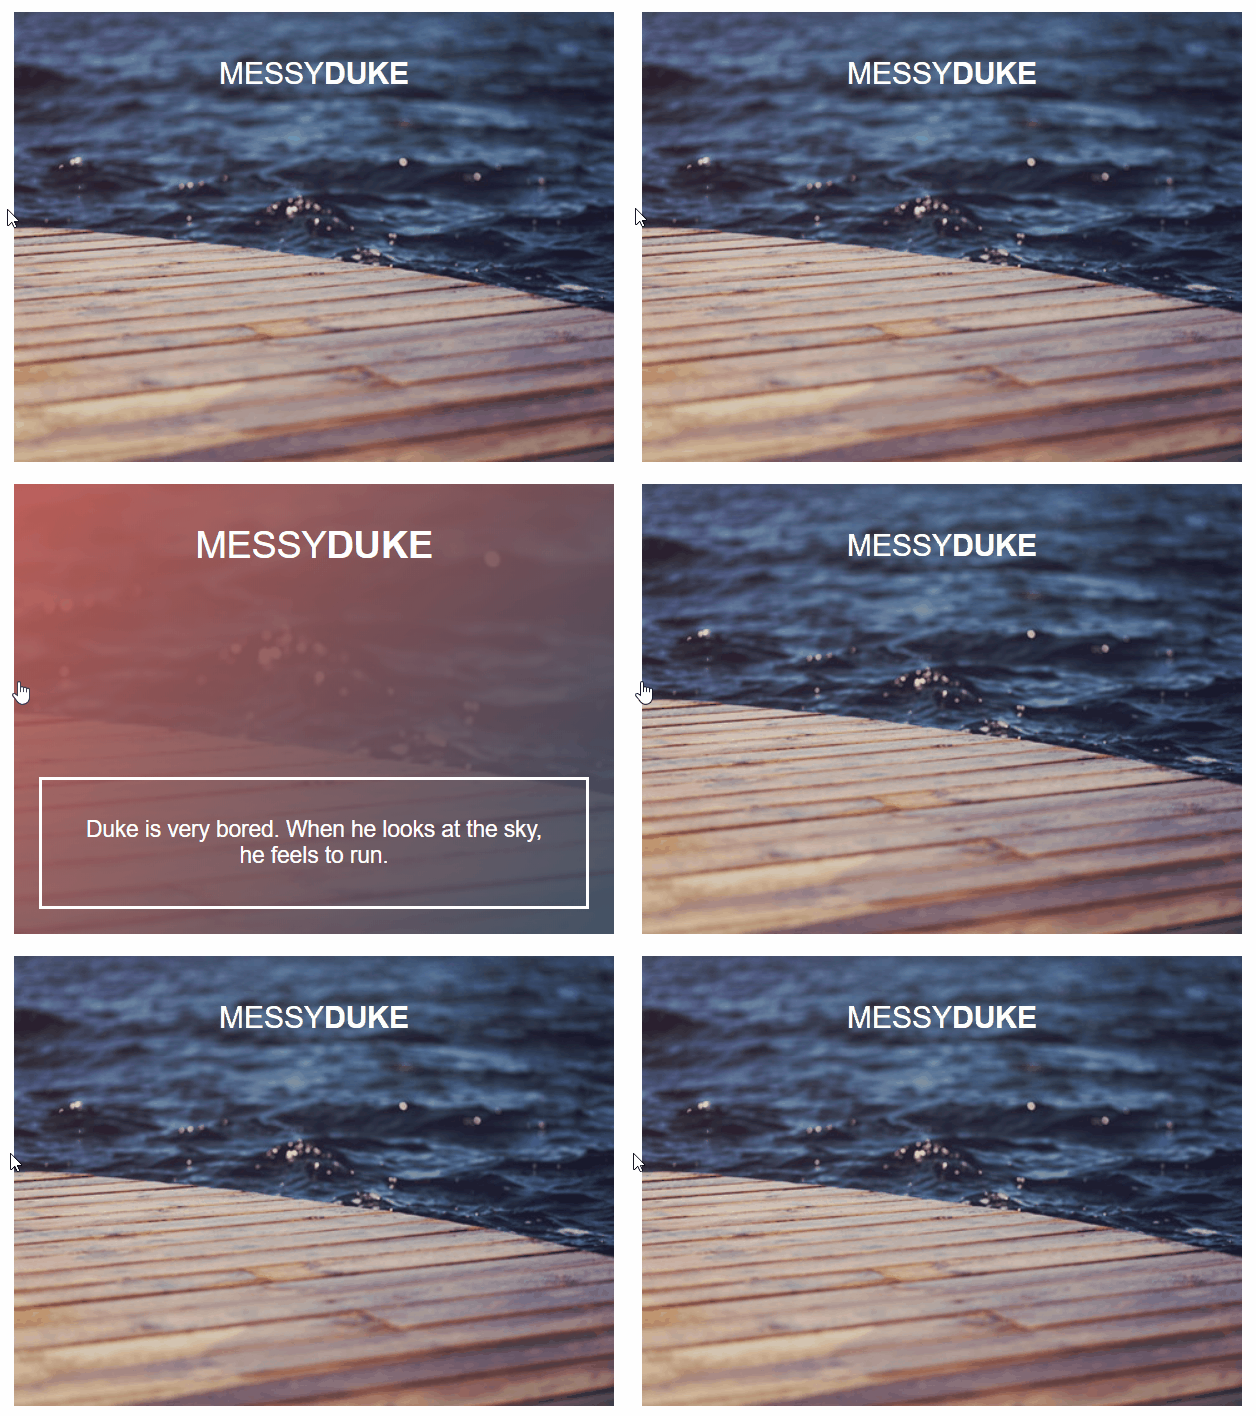
看着感觉很奇怪,figure加上渐变背景色试试。
figure {
  ...
  background: linear-gradient(-45deg, #34495e 0%, #cc6055 100%);
}
有那味了!

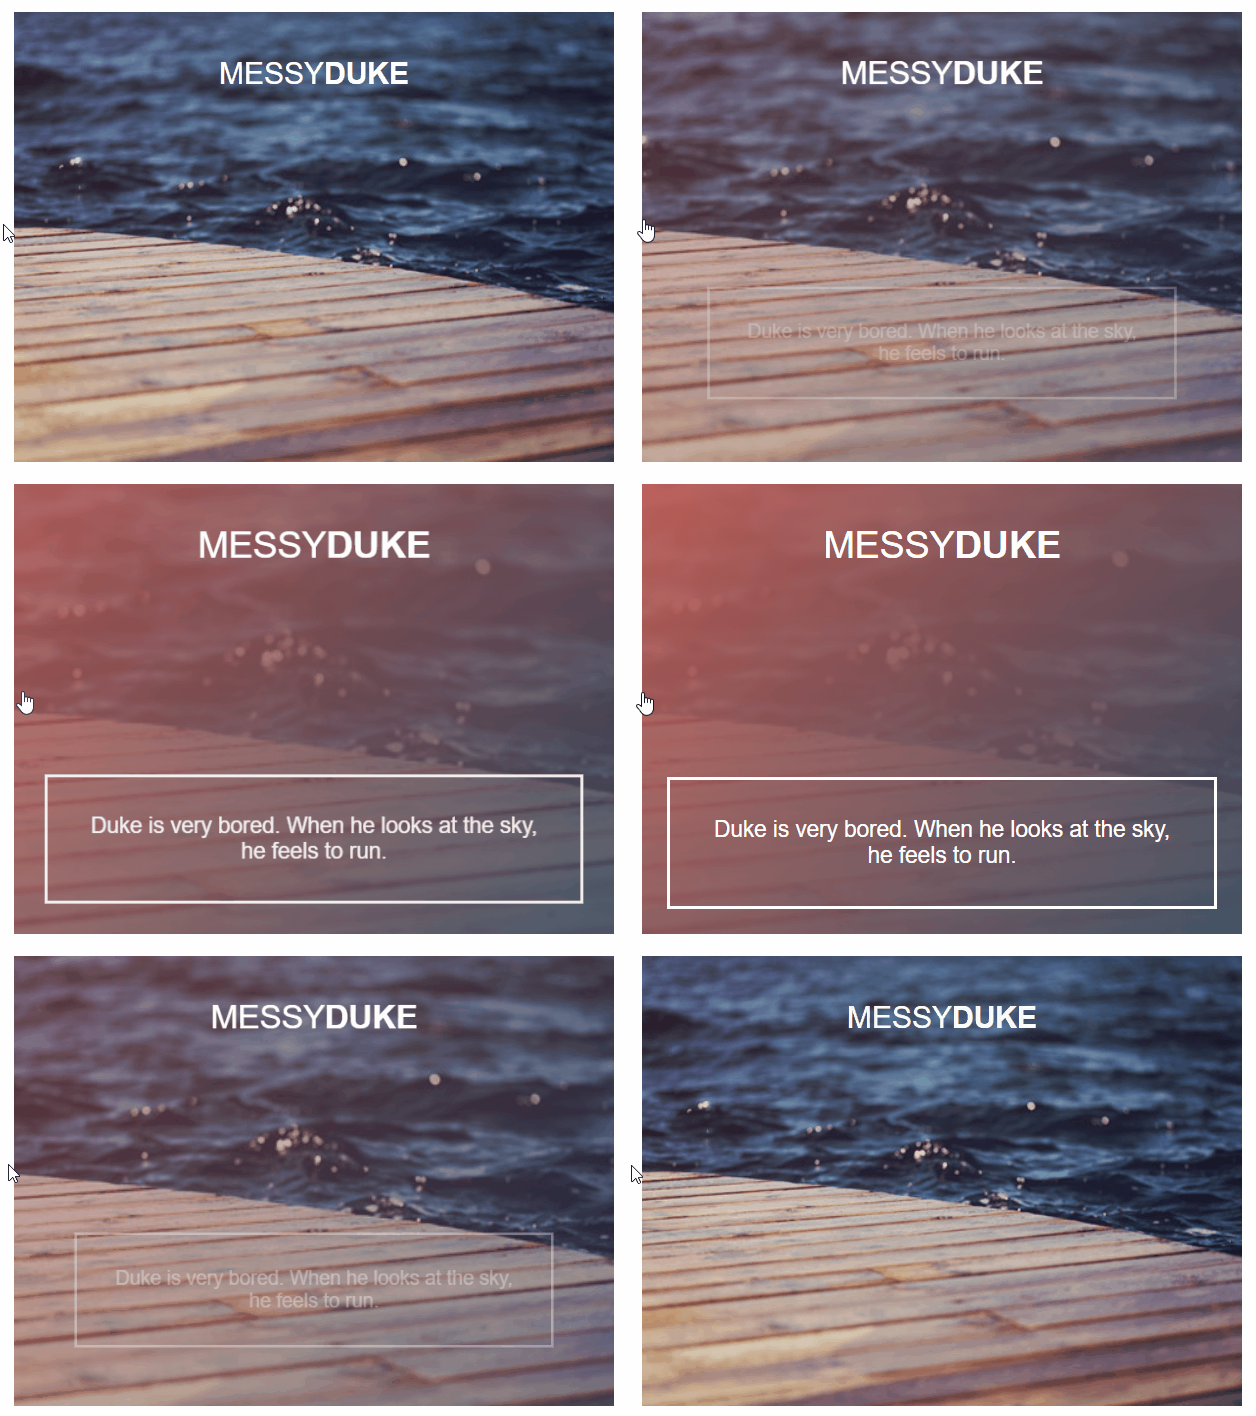
每个元素再添加上过渡。
figure h2 {
  ...
  transition: transform 0.35s;
}

figure p {
  ...
  transition: opacity 0.35s, transform 0.35s, bottom 0.35s;
}

figure img {
  ...
  transition: opacity 0.35s, transform 0.35s;
}
来看看最终效果。

可以尝试性删除figcaption元素来验证最后一条特性,发现对整体页面结构几乎没有影响。
贴一份完整代码。
<style>
  figure {
    margin: auto;
    min-width: 320px;
    max-width: 480px;
    max-height: 360px;
    position: relative;
    font-family: 'Raleway', Arial, sans-serif;
    overflow: hidden;
    background: linear-gradient(-45deg, #34495e 0%, #cc6055 100%);
    cursor: pointer;
  }

  figcaption {
    position: absolute;
    left: 0;
    top: 0;
    width: 100%;
    height: 100%;
    padding: 2em;
    box-sizing: border-box;
    color: #fff;
    text-align: center;
  }

  figure h2 {
    margin: 0;
    font-size: 30px;
    font-weight: 300;
    text-transform: uppercase;
    transform: scale(0.8);
    transition: transform 0.35s;
  }

  figure h2 span {
    font-weight: 600;
  }

  figure p {
    position: absolute;
    left: 0;
    bottom: 30px;
    margin: 20px;
    padding: 30px;
    border: 2px solid #fff;
    font-size: 18px;
    transform: scale(0.8);
    opacity: 0;
    transition: opacity 0.35s, transform 0.35s, bottom 0.35s;
  }

  figure img {
    opacity: 0.8;
    transition: opacity 0.35s, transform 0.35s;
  }

  figure:hover img {
    opacity: 0.1;
    transform: scale(2);
  }

  figure:hover h2 {
    transform: scale(1);
  }

  figure:hover p {
    transform: scale(1);
    bottom: 0;
    opacity: 1;
  }
</style>

<body>
  <figure>
    <img src="image.png" alt="">
    <figcaption>
      <h2>Messy<span>Duke</span></h2>
      <p>Duke is very bored. When he looks at the sky, he feels to run.</p>
    </figcaption>
  </figure>
</body>
# 🎉 写在最后
🍻伙伴们,如果你已经看到了这里,觉得这篇文章有帮助到你的话不妨点赞👍或 Star (opens new window) ✨支持一下哦!
手动码字,如有错误,欢迎在评论区指正💬~
你的支持就是我更新的最大动力💪~
GitHub (opens new window) / Gitee (opens new window)、GitHub Pages (opens new window)、掘金 (opens new window)、CSDN (opens new window) 同步更新,欢迎关注😉~
